

 United States


How to Hemstitch Linen Napkins?

- Linen napkins and other table accessories are great for home decor, especially if handmade;
- With the hemstitching technique, you can bring your ordinary linen napkins to the whole next level. Hemstitched napkins and other accessories are very decorative and look authentic.
- If you want to make some hemstitched linen napkins yourself, below we'll show you the instructions.
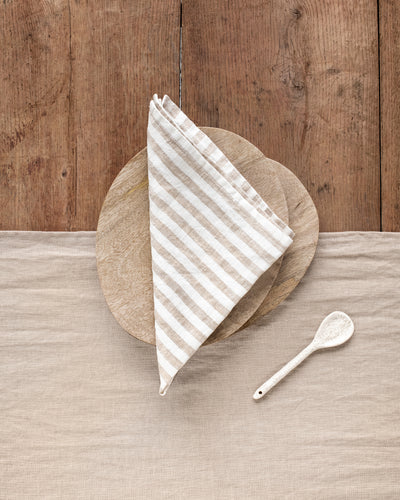
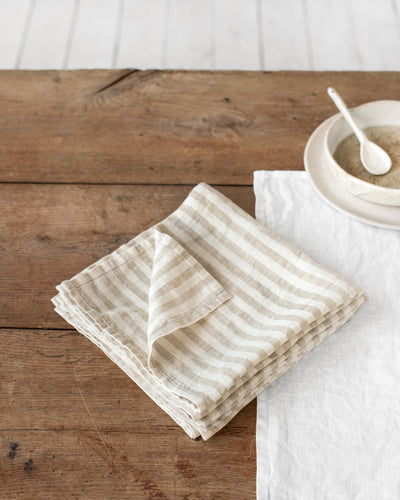
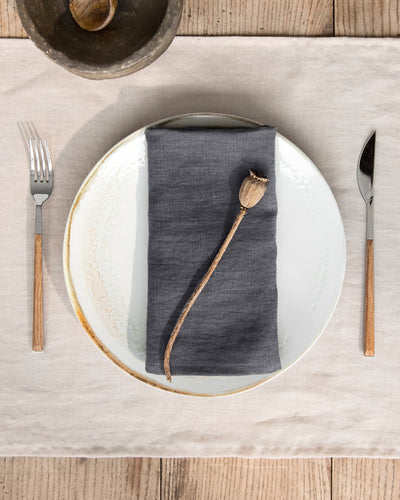
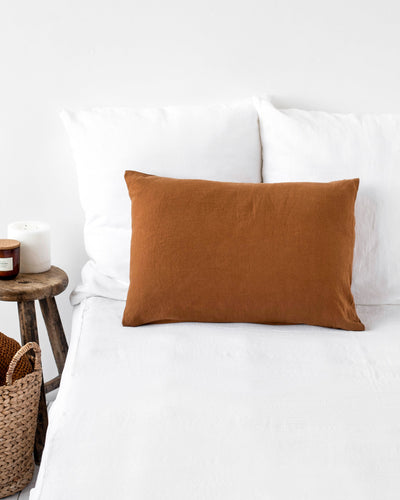
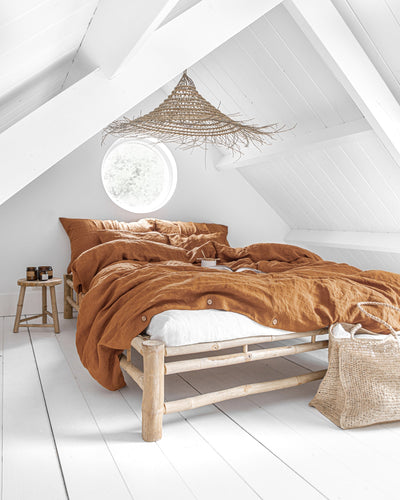
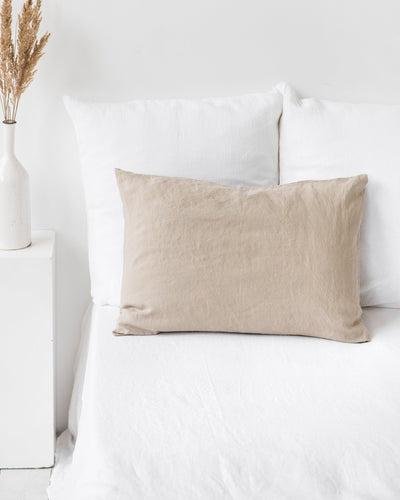
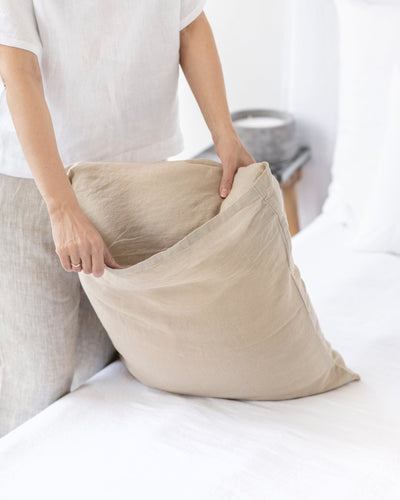
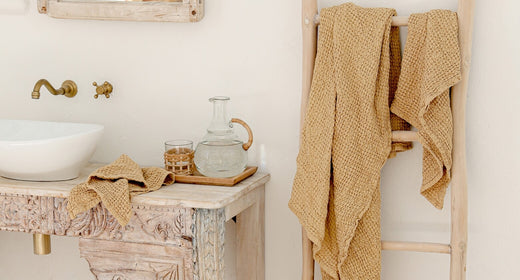
The versatility of linen opens up a whole new world of ideas for beautifying your home. From handcrafted napkins and quilted scarves to handy drawstring pouches, there are lots of great ideas to explore. To ensure that your dining room table settings are attractive - why not decorate it with some elegant and vintage handcrafted linen napkins? Hemstitched linen napkins turn mealtimes into a special occasion like you wouldn’t believe!
So today we’re going to show you a simple, but masterful, trick that will transform your dining table from mundane to divine by:
- How to size your project;
- How to frazzle the ends;
- How to stitch it all together;
Briefly About Hemstitch and Hemstitching Method
Some of you may be asking yourself, what exactly is a hemstitch? Hemstitching is a type of drawn thread-work used in the creation of decorative patterns. This is accomplished by frazzling the ends of the fabric and grouping them using a needle and thread - you can create a wide array of attractive patterns for the hem. Not only does the hemstitch make your napkins more aesthetically pleasing, but it also allows you to create your designs while hemming the fabric, a truly more rewarding experience than ordinary hemming.
So, by following the steps outlined in this tutorial, you’ll be able to create beautiful napkins that will beautify your dining table for that special someone in your life. You might also want to go further and add some special embroidery, like your initials, or the initials of the person for whom the gift is intended.
Hemstitching Linen Napkins: Process
What you will need:
- Linen or cotton fabric
- Scissors
- Bobbie Pins
- Ruler
- Sewing gauge
- Needle
- Fabric marker
- Tweezers
- Sewing machine
Fabric choice plays a major role in the success of your hemstitching project. And while linen seems to be the fabric of choice for projects like this, any all-natural fabric, like cotton, will work just as well. But, for this tutorial, we’ll go with linen.
First, select a light to medium-weight linen fabric. Linen may seem a little harsh at first, but it will get softer with each subsequent washing. Ideally, you’ll want to choose a washable fabric and iron as needed.
Preparing Patterns
To begin, simply cut your fabric into squares of any dimension you prefer. The size of the napkins usually boils down to individual taste. Store-bought napkins typically measure anywhere from 16-20 inches.
Next, determine how big, or small, you want the hem to be. For this tutorial, we’ll go with a ½” hem for a 14” square napkin.
Now that you have your desired napkin size, add two more lines representing the desired width of the hem. In the case of this tutorial, your napkin’s overall size should be 16”. Make sure to cut the mitered edges as straight as possible.
To help make squaring up your fabric easier, choose a thread near the end of the fabric, pull it out, and cut off the excess so that the line is perfectly straight. When it comes to hem-stitching, the edges must be straight.

Steps
Hint: pre-washing your fabric and ironing it before you begin your project helps prevent your finished napkins from shrinking.
- Multiply the width of the hem by 3 and make a mark on each corner. For example, for a ½” hem mark 1 ½” from the edges using a disappearing ink fabric marker.
- Select a single thread at the point where you made your mark in the previous step and pull it out with your tweezers. Pull gently with one hand while holding the fabric with the other. If you notice some shirring, just continue to pull on it slowly until it comes out.
- Repeat the process until you have drawn out the desired number of threads. Most designs call for 3-5 threads (for our project we chose four). But be sure to drawstrings from your mark back toward the center so as not to reduce the size of the hem. Hint: If the thread breaks, try pulling them out part of the way and returning to it later. Use a needle to raise it so that you can grab it with your tweezers and pull it out to the desired length.
- Repeat the process for the other three sides of your project until you have drawn out the same number of threads for each side. Then, fold the mitered edges up and stitch the corners, using the technique you learned earlier. Mitered corners provide a nice finishing touch that is elegant and fashionable without those bulky corners.
- Now, fold the hem twice toward the wrong side of the fabric (We used ½” x ½”) so that the top edge of the hem is aligned with the end of the pulled threads. Now, use your steam iron to finish it off.
- Follow the same procedure for the other mitered corners. Don’t worry about edge-stitching the hem, that will be done by hand. Once you have all four mitered corners sewed and pressed, it is time for the hemstitching. The best thing about this part of the project is that you can hem-stitch and decorate at the same time. If this is your first time trying your hand at hem-stitching, we recommend that you practice the technique on some scrap material first.
- Now, thread your needle and tie the ends together into a small knot. Fold and secure one of the mitered corners. Now, moving from right to left (left to right if you’re left-handed) and with the wrong side of the fabric facing upward, insert the needle under a few of the vertical threads. Don’t worry about counting them, just use your judgment as to the correct number.
- Now, pull the needle through, being careful to keep the thread going toward the bottom of the hem. Insert the needle again into the same hole and pull gently to tighten it around the group of threads you’ve selected. If you like, you could also try making a small loop at the bottom by inserting your needle under the thread to secure the haunches.
- Now, pull the needle through again, but this time gather s few more threads. Grab hold of a small portion of the fabric in the folded hem, but be sure you’re only sewing through one layer. This way, your stitch will be visible through the right side - sort of like a blind hem.
- All that's required for this last step is to repeat steps 6-8 to the end of the napkin. Do the same thing with the other three sides of the napkin and you’ve completed your very first handcrafted hem-stitch napkin.
Final Word
There are, of course, other variations of the hem-stitch, but this is the most common and the easiest to master. If you enjoyed this short hemstitched napkin tutorial, pick up the needle and try to create your own beautiful and decorative linen napkins. Alternatively, you can always go to our online store and choose from our wide variety of handmade linen napkins there!